Casa Pescara
Parquet · 3 min
Herringbone parquet in Pescara: layout, cuts and direction
Review geometry, sightlines and edges before committing to a herringbone or chevron layout.
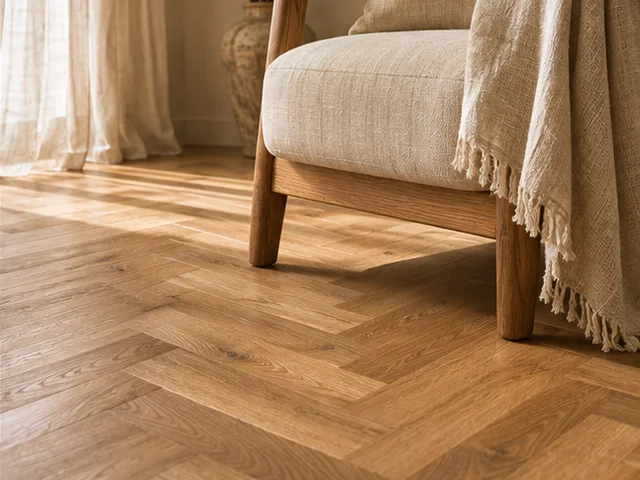
Identify the pattern in the sample and specification
Compare the ends of the boards as well as the room photograph. In a right-angle herringbone, the end of one piece meets the side of the next. Patterns often described as chevron or Hungarian point use angled ends that meet along a line. Commercial names can vary, so ask to see a small assembled sample and the technical diagram. Measure a full repeat of the pattern, since the size of one board tells you little about how often the motif repeats across the room. Look at the finish from more than one direction. Prominent grain can change appearance when adjacent pieces turn. Check how any left and right pieces fit together.
Choose an axis that reads well from the doorway
Stand where you will see the floor most often, such as the entrance or the approach to the living room. Find where the centre line of the pattern might sit and mark the main views on the drawing. A room with irregular walls can have several plausible axes. The geometric centre of the room, middle of the doorway and view along the hall may sit on different lines. Ask to compare two scale drawings and see what happens to the perimeter cuts and connections between rooms. In a Pescara flat with light from the side, look at samples beside the window and from the door. Light at a shallow angle can emphasise differences in the grain.
Decide what happens at the room edges
The pattern can run to the skirting, stop at a perimeter border or meet a threshold. A border changes the width available for the pattern and can make an angled wall more apparent. Ask the fitter how the layout will handle recesses, pillars, radiators and door frames. If two rooms connect without a threshold, check whether the pattern continues along one axis and where the flooring system needs a joint. For an exposed edge, compare a real cut with the one shown in the catalogue. Ask for a scale detail at tiles, steps or other floors, with both finished heights shown so you can see how the surfaces will meet.
Agree a trial layout before fitting starts
Marks on the subfloor and a few rows laid out dry help you judge cuts and proportions. Ask when the trial can take place and what needs to be decided before it happens. Compare the pattern with the openings and check whether a run of unusually narrow pieces lands against one wall. If the boards vary in tone, find out how the fitter will distribute boards from different packs in accordance with the product instructions. Confirm the substrate is ready before the permanent installation. Keep a photograph of the trial with the axis marked, and record any adjustments to the orientation or pattern you approve after seeing it.
Check quantities and shaped pieces
Ask the fitter how the quantity was calculated, what allowance covers cuts and how many different pieces the design needs. Rooms with several recesses or interruptions need a calculation based on the actual floor plan. Look for separate references to borders, thresholds and subfloor preparation in the quote. Clarify who will handle offcuts and opened packs. If left and right boards remain, label them separately and retain the product reference. File the pattern plan with the care instructions. If a single piece ever needs replacing, the records will help identify which way the joints run and which board is likely to fit.
How we prepare the guides: sources and illustrative scenarios