Casa Pescara
Kitchen · 3 min
A Pescara kitchen splashback designed around outlets and wall units
A worked example of testing the splashback layout, marking cuts, and planning checks before ordering.
The sample works, but the edge needs a decision
A fictional scenario for illustration, with no reference to an actual project.
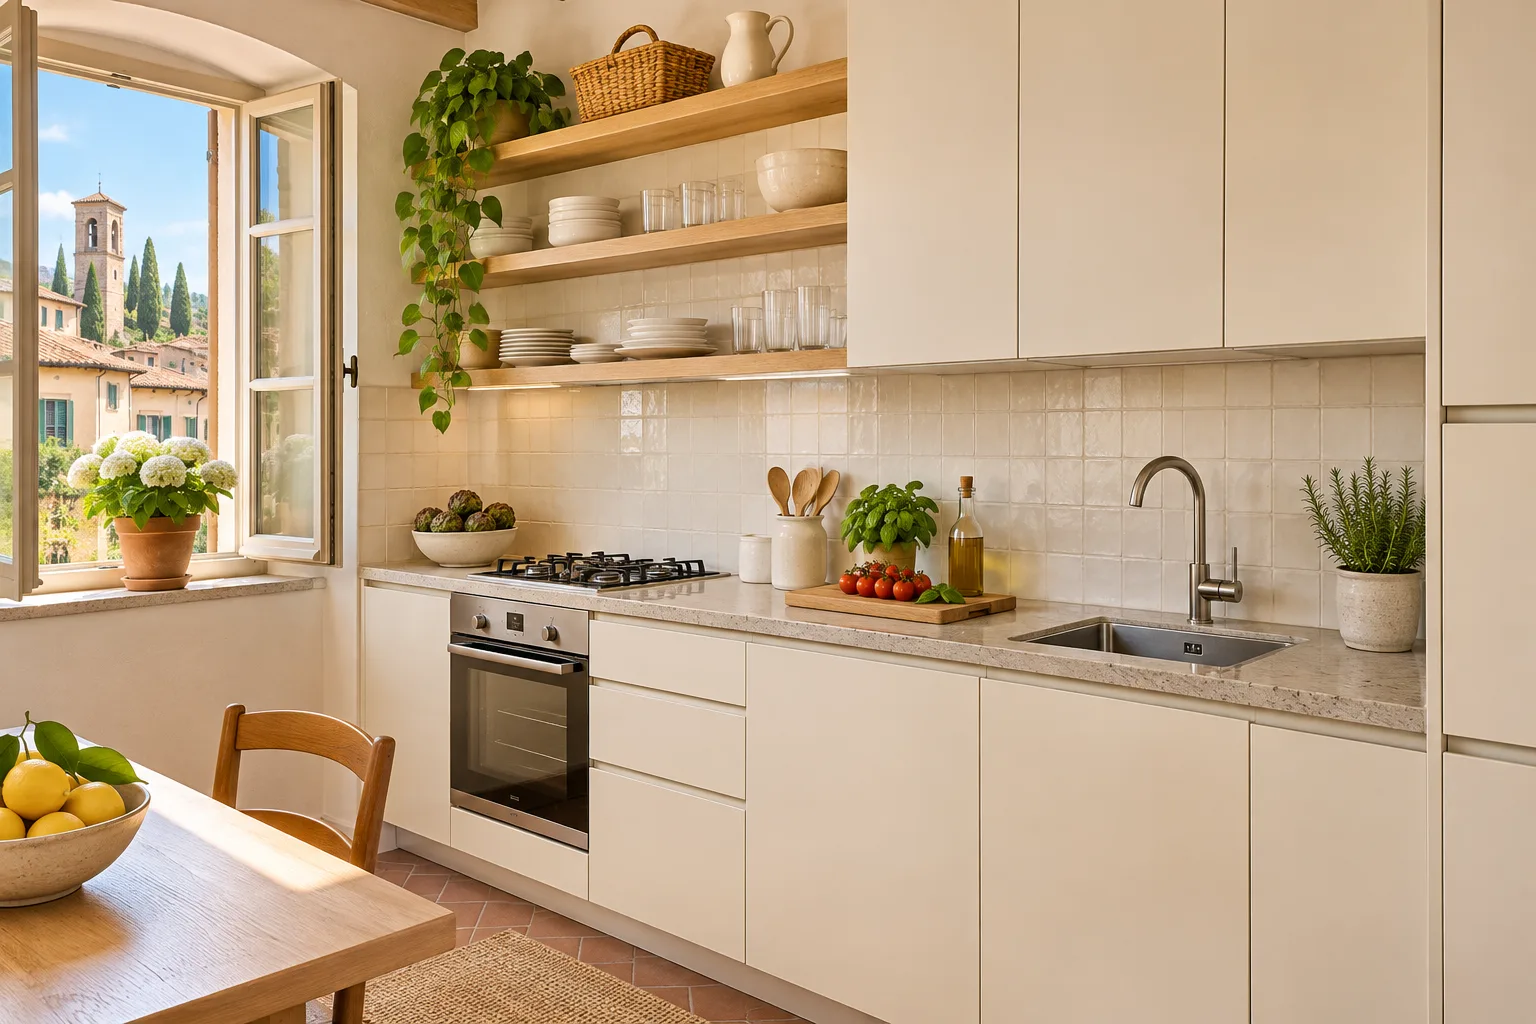
In Federico’s Pescara kitchen, the new splashback will meet the edge of a wall cabinet and two groups of sockets. He likes a rectangular tile he saw in a shop. At home he notices the distance between worktop and wall units changes near the window. He places the sample in three spots and photographs how it looks from the table. On the drawing he marks where the kettle sits and which socket he uses most often. He wants to judge appearance and whether he can clean the edge around his everyday items. Before ordering he asks where the covering will stop and which measurements depend on the worktop in place.
Mark openings before choosing the tile layout
At the visit Federico shows the sockets, cabinet sides, and junction with the sill. He asks for the position and size of each faceplate on the drawing, leaving checks on services to the relevant professional. One tile grid puts a joint near a socket. Another moves it but changes the cut at the wall cabinet. Federico asks to see both on the same photograph. He also asks whether the chosen format changes where the tiles should stop towards the doorway. To explain which parts matter most, he stands where he cooks and where he sits to eat. Both viewpoints stay on the selection sheet.
The choice includes the area you will clean
Federico tests the sample alongside the actual worktop and cabinet finish. He asks what cleaning guidance applies and how edges by his everyday appliances will be finished. He shows where the kettle sits and how he moves its cord when cleaning. For each proposal he wants to know what will be tiled and which sections of the wall would instead need touching up. On the drawing he records where the splashback ends and where trim would show. The choice now covers more than tile quantities. It includes the worktop junction, daily upkeep, and the appearance of the side areas that could otherwise be left unresolved.
Two measurements to confirm at the right moment
Before buying, Federico asks when the installer can measure with the counter and wall units in place. He agrees who checks the faceplates and how changes to fittings that meet the tiles are communicated. He asks to keep the sample, product code, and cut layout in one folder. If kitchen installation changes a dimension, he wants to review that side before laying starts. In the quote he separates preparation, installation, and edge finishing. He records what spare pieces can be kept and how to identify them later. When he orders, the sheet shows the final reference and where the approved layout starts.
Review the kitchen with everyday items in place
At handover Federico looks at the splashback from the table, then returns his things to the agreed spots. He checks how the tiles meet the counter, sockets, and edge towards the window. He requests guidance for cleaning and use and labels the remaining tiles. For a similar kitchen, bring a photograph of the whole wall, the tile sample, and a view of the objects that stay on the worktop. If possible, have two options for joints and edges marked on the drawing. The installer takes final dimensions. The mock-up helps explain what you want to see when you start cooking again.
Pescara · Distance and local guide coverage ↗
How we prepare the guides: sources and illustrative scenarios