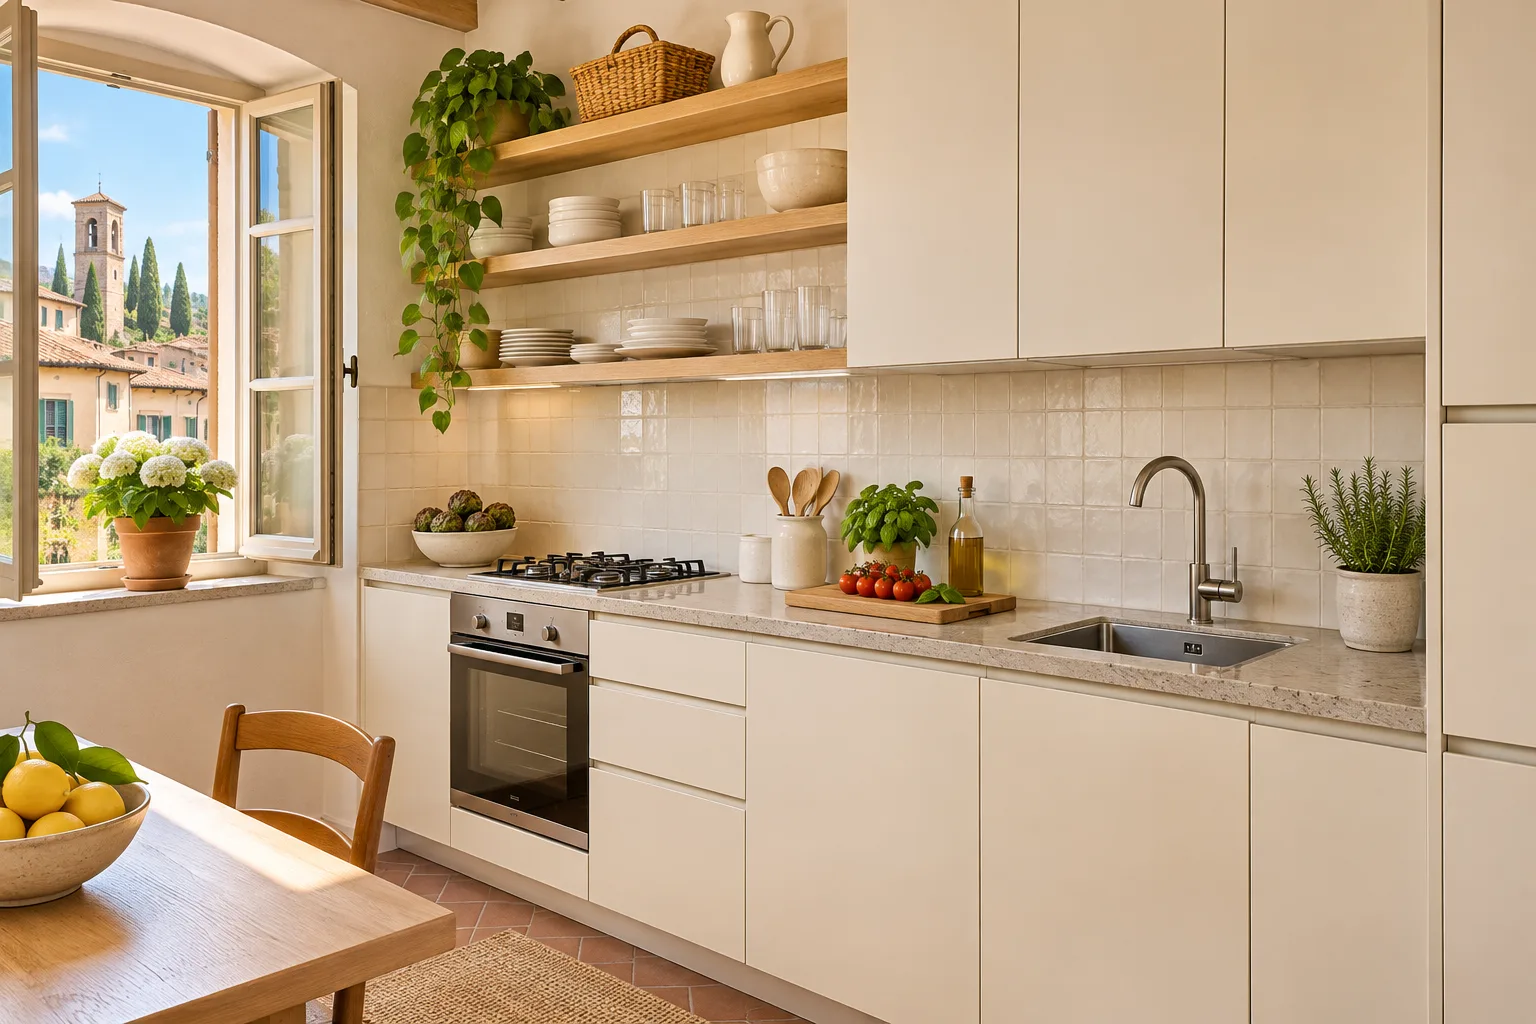
Casa Pescara
Kitchen · 3 min
Kitchen flooring and splashbacks in Pescara
Choose flooring and splashbacks with cleaning, installation and transitions in mind.

Mark the areas that take the most wear
Sketch the kitchen and circle the surfaces that are most likely to get dirty. Crumbs and small utensils fall below the preparation area, water collects near the sink, and heat and splashes reach the area around the hob. A door from a terrace can bring in sand and moisture. Use these conditions to read the product sheets and assess samples. For the floor, check that the product is intended for your use and ask what the manufacturer says about fitting and cleaning. For a splashback, decide where protection needs to start and stop. Have the permissible temperatures, clearances and system requirements checked against the actual model of hob.
Look at the material and grout together
Grout changes how a tiled surface looks and how you clean it. Put two samples next to one another with the proposed grout colour between them and look from the doorway. With a small format tile, check how the joint pattern fits around sockets and lines up with the wall units. If you prefer a panel, ask to see an edge sample and a drawing of the joins with the worktop, shelves and any wall that is out of square. Compare maintenance instructions and ask whether the finish needs periodic treatment. Bring home samples that show the real texture. Photographs can suggest a colour, while relief and reflections are easier to judge in person.
Check thickness before settling the work sequence
For the floor, write down the thickness of the finish and each layer below it. Ask how it will meet the hall, balcony doors and rooms that are staying as they are. The wall finish also affects usable depth behind the worktop and where electrical boxes need to sit. Put the dimensions on a section measured to the finished heights. Find out when the base units, worktop and splashback will be installed. Depending on the materials, part of the job may follow a survey of the fitted worktop. Ask how exposed edges will be protected during fitting and which areas should stay clear for access and cutting.
Check whether the existing surface can stay
If you are considering laying over an existing surface, have its adhesion, evenness and condition examined. A loose tile, unstable paint or signs of moisture need attention before the new finish is selected. An overlay adds thickness, so compare it with available clearance at the edges. If the old finish will be removed, ask which repairs can be specified now and which can only be scoped once the surface is exposed. For a kitchen reached through a shared building in Pescara, agree where materials will be prepared and how they will be moved. These checks make it possible to compare the options with preparation and transitions included.
Finish the selection with a detail drawing
Ask for a floor plan and an elevation marking the starting point, pattern direction, exposed edge profile and cuts around sockets. Check whether a narrow strip would land in a prominent position. Mark where each joint or transition goes and which material will be used there. Keep the references for tile and grout, together with the cleaning instructions. If useful pieces are left over, arrange to store them with the finish and batch identified. A drawing of the details makes it easier to check the work as it progresses. It also helps you recognise which spare pieces to use if a section needs attention later.
How we prepare the guides: sources and illustrative scenarios